BCC Maintenance Evening No.1: Bikes, Beers & Pizza!
April 11 2023 – Brixton Cycles
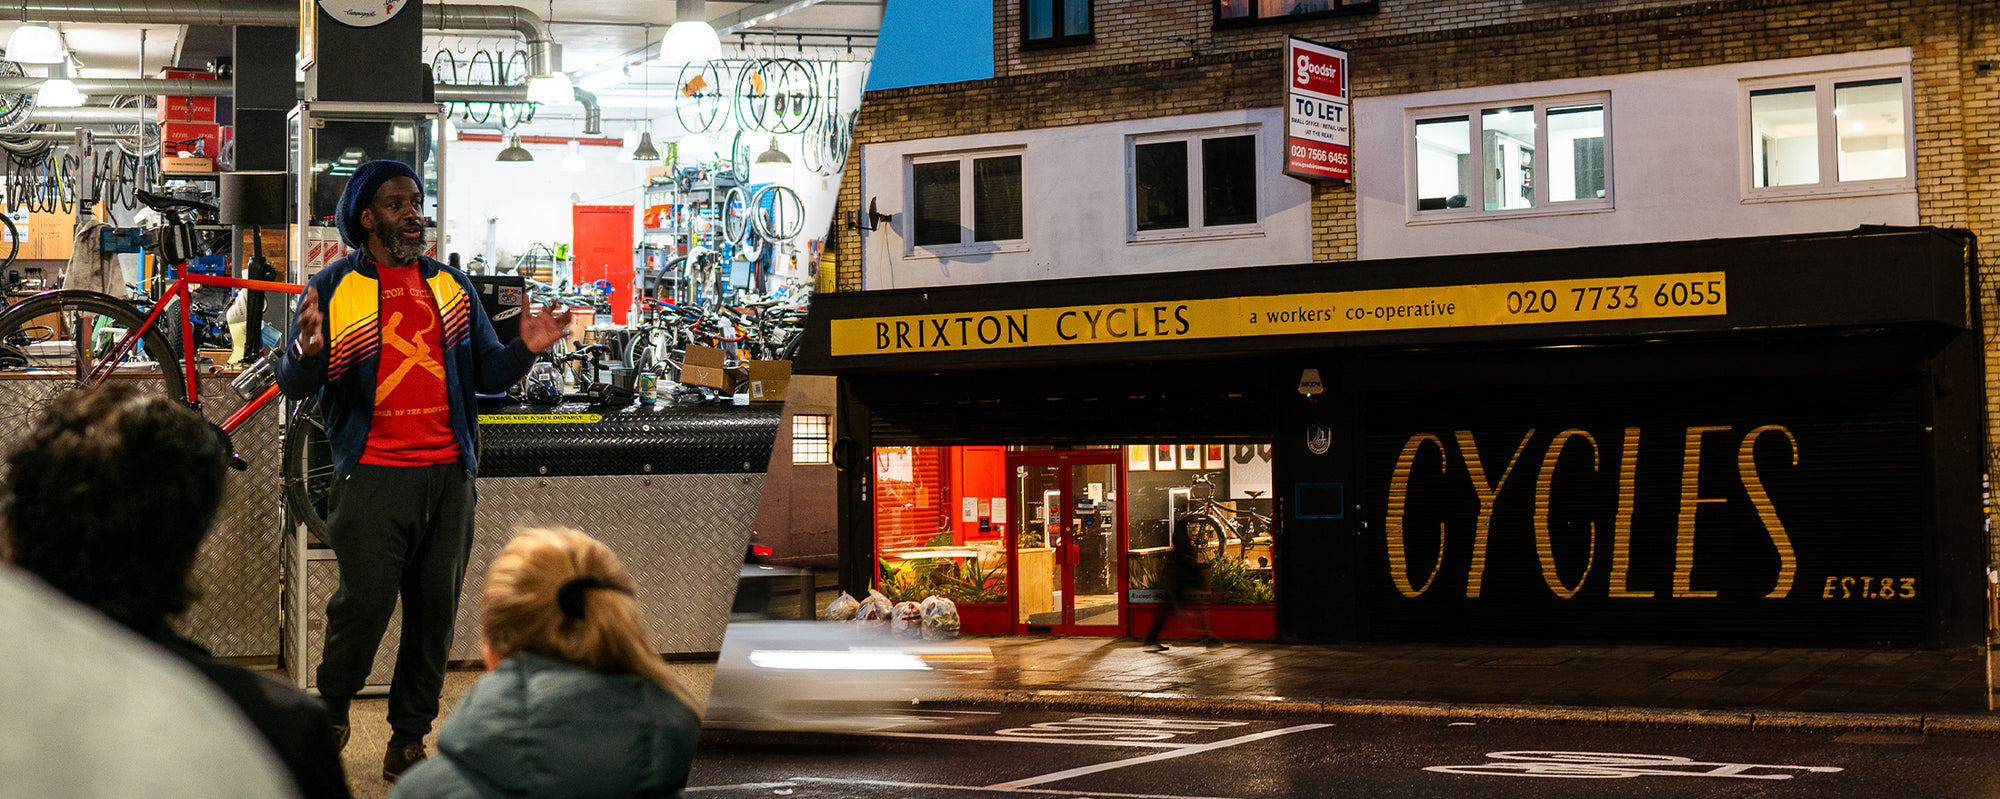
Bike maintenance doesn’t have to be daunting – that’s why the folks over at BCC are running weekly maintenance courses with the man himself, Lincoln! Whether you’ve just bought your first bike or you’re a seasoned veteran, there’s always something to learn. Over the coming weeks, we’ll be covering all kinds of essential home maintenance and roadside repairs, all while enjoying refreshing beverages and pizza!


Here’s a recap of what we learnt in the first BCC maintenance evening – the key topic was ‘Fixing A Puncture’:
Removing The Wheel
First things first, you need to remove the wheel. If you're dealing with the front wheel, this is super simple – just undo the quick-release skewer or remove the thru-axle and pull the wheel out. If you have rim brakes, undo the quick-release on the calliper (or on the shifter for Campy users!) so the tire can fit through. If you've got disc brakes, keep the wheel straight as you pull it out, and don't squeeze the brakes once the wheel is removed otherwise the pistons will overextend, causing even more headache!

Removing the rear wheels is slightly more involved, but fear not. Shift into the smallest cog at the rear, then undo the quick-release skewer/thru-axle. Take the wheel out while pulling the rear derailleur back so that it doesn't block it (gently does it – you shouldn’t need to put much force into pulling the rear derailleur).
Removing The Tyre
Now that the wheel is out, it's time to remove the tyre. Start by letting all the air out of the tyre, then go around the wheel pushing the bead of the tyre into the centre of the rim. This will make it much easier to work the tyre back over the rim so it can be removed (you may need to use a tyre lever). Once the tyre is removed, inspect it to find the cause of the puncture, keeping an eye out for sharp stones, glass or any other road debris, as well as any cuts or tears.

Fitting The Tyre/Replacing The Tube
Next up, fitting the tyre and replacing the tube. Fit one side of the tyre onto the rim (lining up the logos with the valve isn’t essential, but will help you locate the source of a future puncture faster!), and inflate the tube slightly so it has some shape – keeping it completely flat will increase the chance of pinching the tube once fully inflated. Remove the threaded collar and place the valve into the valve hole, then massage the tube into the tyre.

Starting at the valve, push the other side of the tyre back onto the rim. The key here is to keep slack in the tyre. To do this, make sure the bead of the tyre is sitting in the centre of the rim and use your thumbs to encourage it around the rim. Try to avoid using a tyre lever to get the last bit on if you can, as it could result in a pinch puncture or damage the bead of the tyre. With a bit of elbow grease, the tyre should go on smoothly. However, if it really is giving you a hard time then carefully use the lever, ensuring that the tube doesn’t get caught under the bead of the tyre once installed.
Putting The Wheel Back On
Finally, it's time to put the wheel back on. If you're dealing with the front wheel, simply reverse the process of taking it out. When it comes to the rear wheel, place it back in the frame, get the chain on the right cog, and close the QR to lock the wheel in. If you're using rim brakes, remember to close the brake QR so your brakes are working again!

BCC will be running further workshops over the coming weeks for club members, each with more advanced techniques for essential home maintenance and roadside repairs.
Click here to visit the BCC website and join the club!
